Android Studio 提供了自行設計測試案例的方法
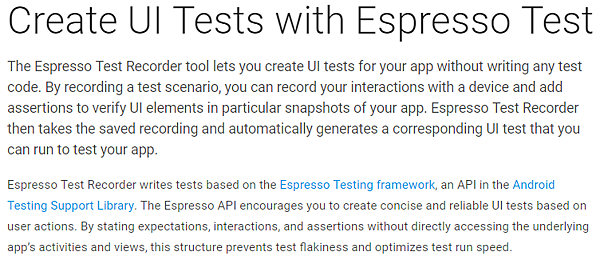
在測試UI上可以使用Espresso來處理
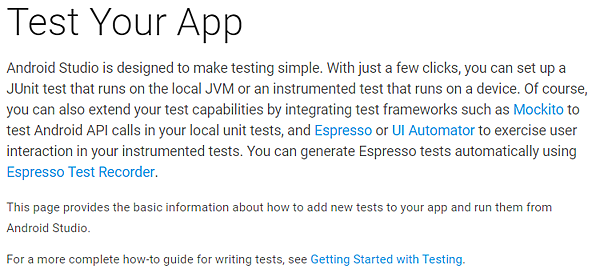
1. 官網https://developer.android.com/studio/test/index.html
2. 官網https://developer.android.com/studio/test/espresso-test-recorder.html
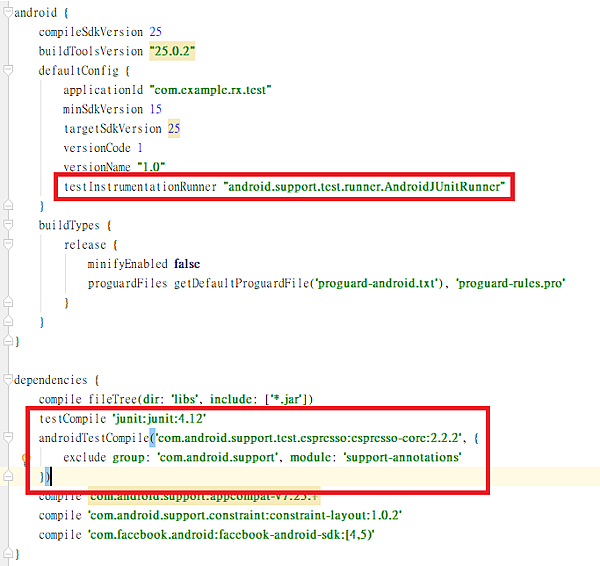
3. 在Build.gradle的defaultConfug內添加
testInstrumentationRunner "android.support.test.runner.AndroidJUnitRunner"
在dependencies內添加
testCompile 'junit:junit:4.12'
androidTestCompile('com.android.support.test.espresso:espresso-core:2.2.2', {
    exclude group: 'com.android.support', module: 'support-annotations'
})
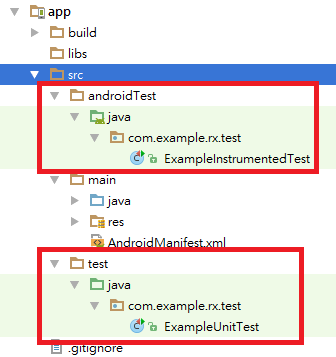
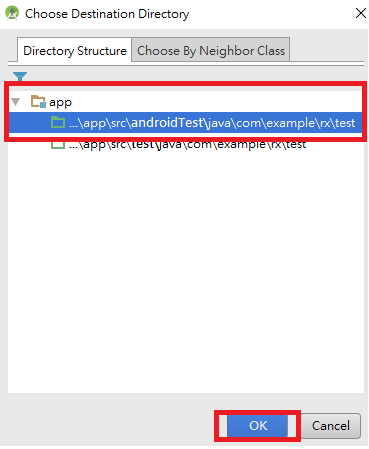
4. 在src資料夾內, 加入和main同層的androidTest資料夾 (用來測試UI)
與test資料夾(用來單元測試)
而內部的資料夾分類和main相同
5. 然後在你想要建立的Activity上按ctrl + shift + T
選擇Create New Test...

6. 定義好名稱和想要建立測試案例的method後, 按下OK
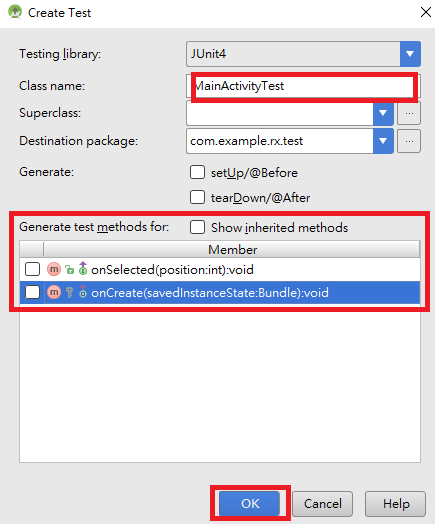
7. 然後選擇要建立的資料夾內
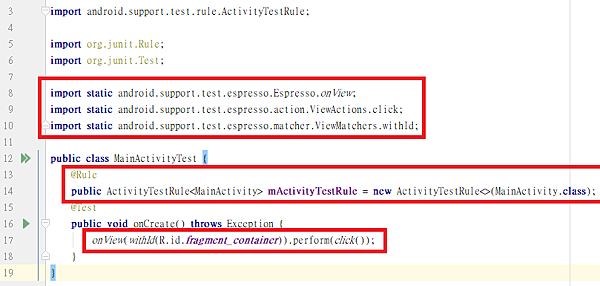
8. 接著寫測試劇本
對應的activity要加上@Rule的標籤
然後method內就寫上測試的動作
舉例來說onView是指去抓特定的view,
perform是去實行某些東做
click是代表模擬點擊
import android.support.test.rule.ActivityTestRule;

import org.junit.Rule;
import org.junit.Test;

import static android.support.test.espresso.Espresso.onView;
import static android.support.test.espresso.action.ViewActions.click;
import static android.support.test.espresso.matcher.ViewMatchers.withId;

public class MainActivityTest {
    @Rule
public ActivityTestRule<MainActivity> mActivityTestRule = new ActivityTestRule<>(MainActivity.class);
    @Test
public void onCreate() throws Exception {
        onView(withId(R.id.fragment_container)).perform(click());
    }
}
9. 案例建立完成後, 在檔案上按滑鼠右鍵
選擇Run '該檔案' 即可進行測試
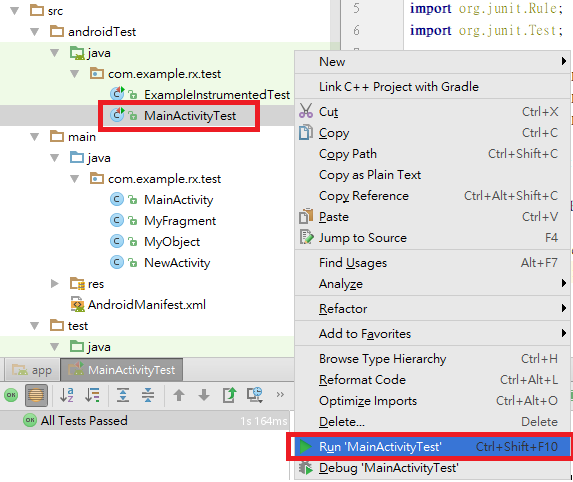
10. 最後會按照結果顯示出報表

文章標籤
全站熱搜


 留言列表
留言列表
